Turn photons into pixels with William Gray’s enlightening guide to snapping the aurora borealis
William Gray
Don’t become so obsessed with trying to capture an image of the Northern Lights that you spend so long wrestling with your tripod, fiddling with camera controls and staring at LCDs that you forget to just stop and stare and wonder. Filling the memory card in your head is just as important as filling the one in your camera!
Wear lots of layers. If anything, overdress. You can always shed layers in the heat of the moment when the aurora is blazing above you. For photographers, warming up numb fingers takes time and could cost you that perfect photo. Big, thick gloves or arctic-grade mitts don’t go well with small camera buttons and dials.
Think about wearing some silk liner gloves inside your mitts – that way you can slip the mitts off and still keep your hands warm while adjusting camera controls, but have the outer mitts to hand for the periods when you’re waiting for the aurora to show.

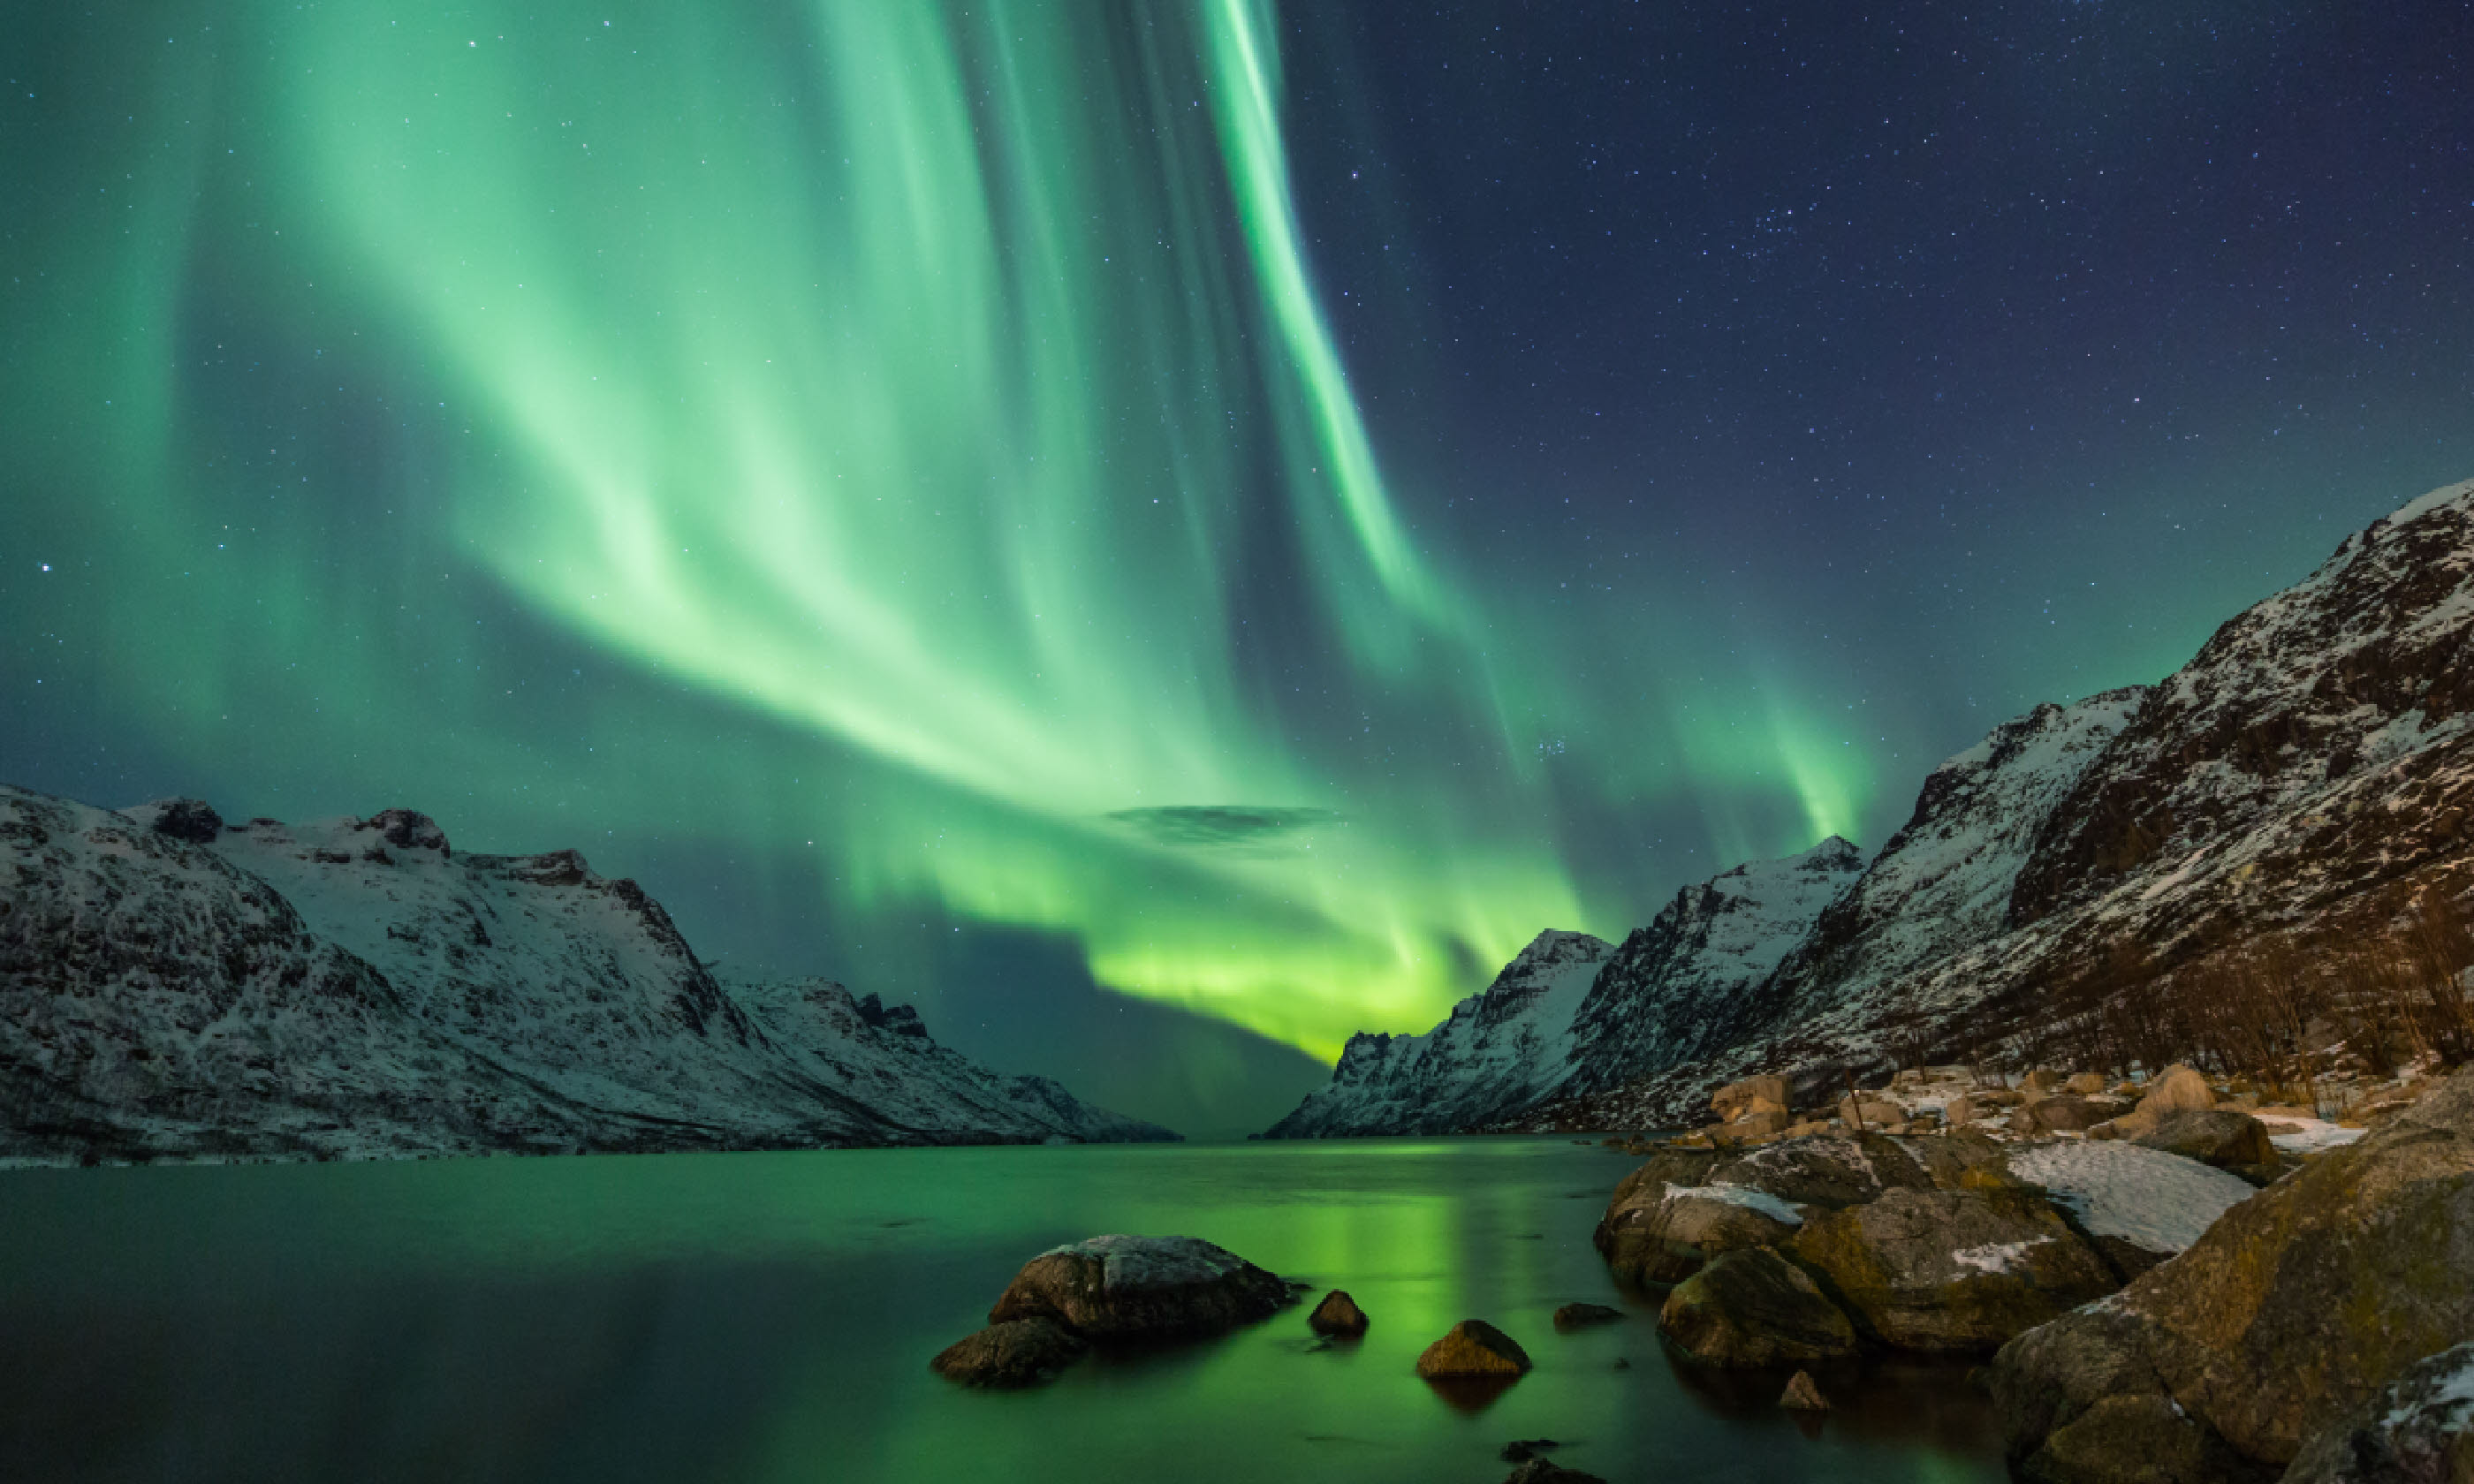
Northern Lights (Shutterstock)
The lens is far more important than the camera body – especially when it comes to photographing the lights. Yes, digital cameras are very light sensitive, but you still need to be able to channel the elusive, subtle light of the aurora through the lens and onto the camera’s sensor. And to help it do that you ideally need a lens with a fast maximum aperture, ideally of around f1.4 or f2.8.
Why does this matter? Well, the longer your camera spends taking a picture – the longer the exposure – the more prone it is to movement. Even the slightest tremor from someone scrunching past in the snow nearby can cause camera shake and ruin your photo.
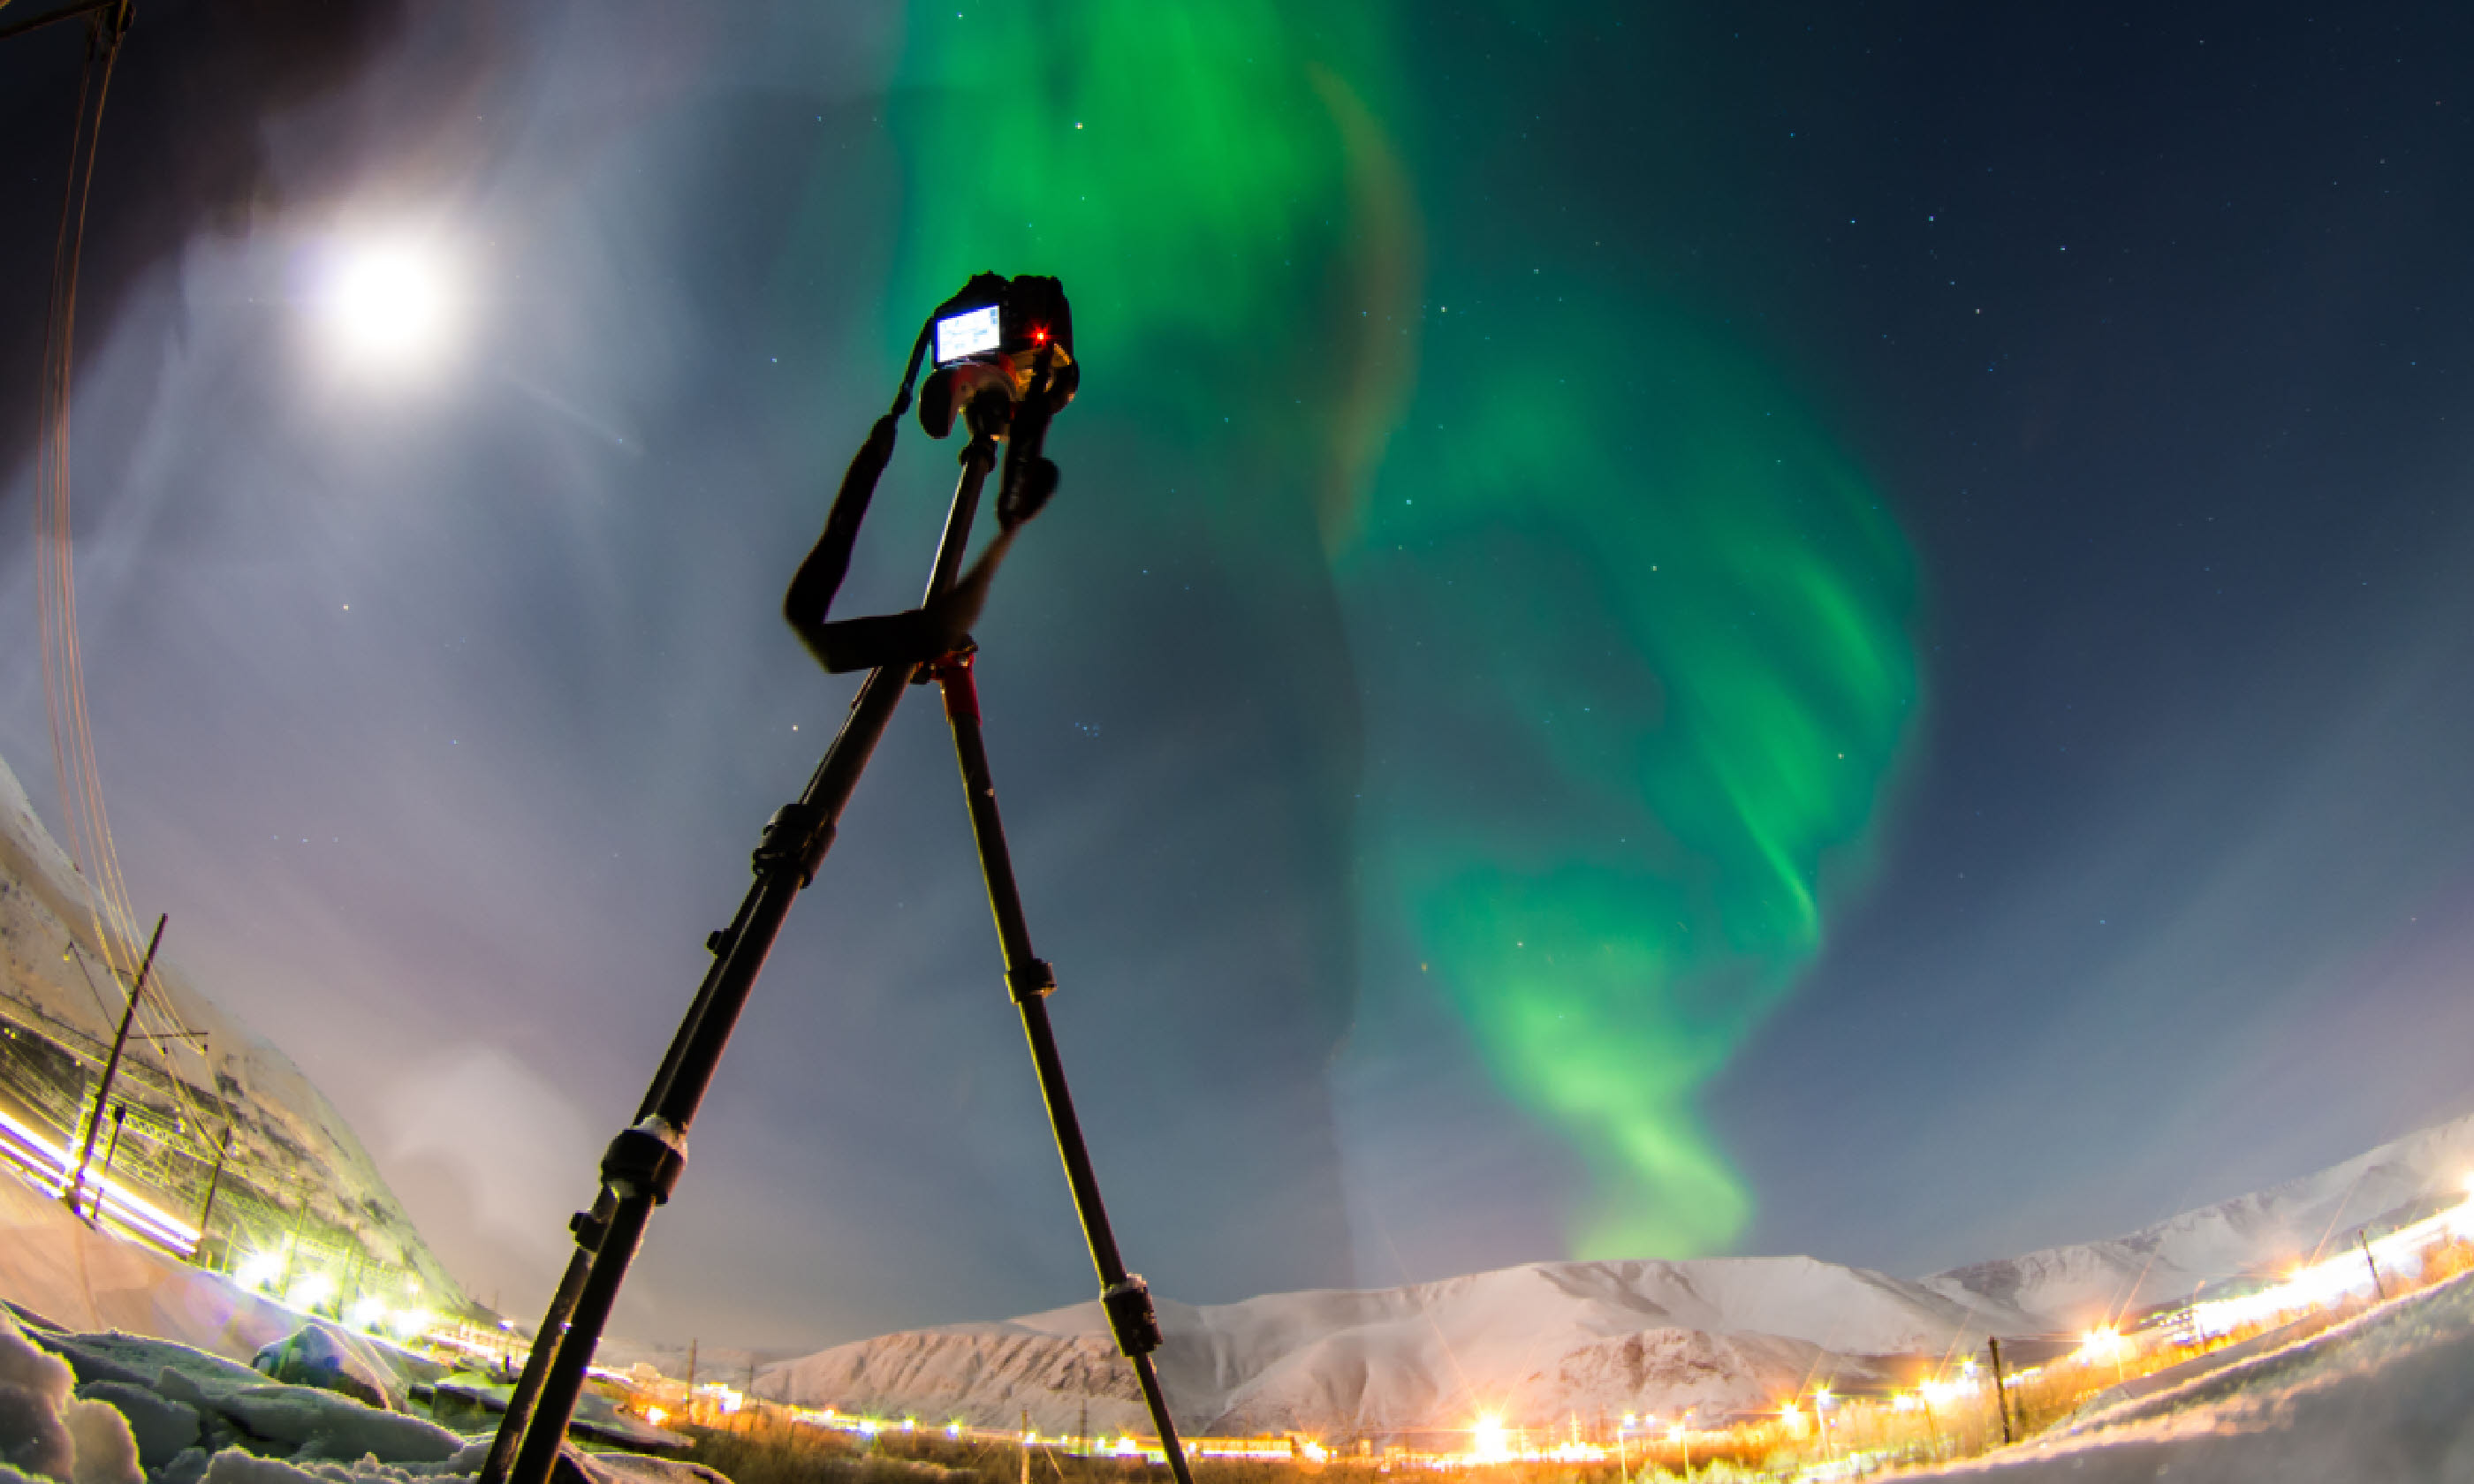
A sturdy tripod. Don’t skimp on this or think you can leave it at home because it’s too heavy to carry and that you’ll be able to wedge your camera in a tree or rest it on a snowman’s head. You will need a tripod to keep your camera as still as possible when photographing the Northern Lights.
A cable release is also important. It attaches to the side of your camera and allows you to take a picture without having to press the shutter button on the top of the camera – because even that can cause camera shake with the kind of long exposures you’ll be dealing with.

Shooting the Northern Lights
At the end of the day – or night in this case – a large part of the success of a Northern Lights photo is down to composition and some good old-fashioned rules of photography.
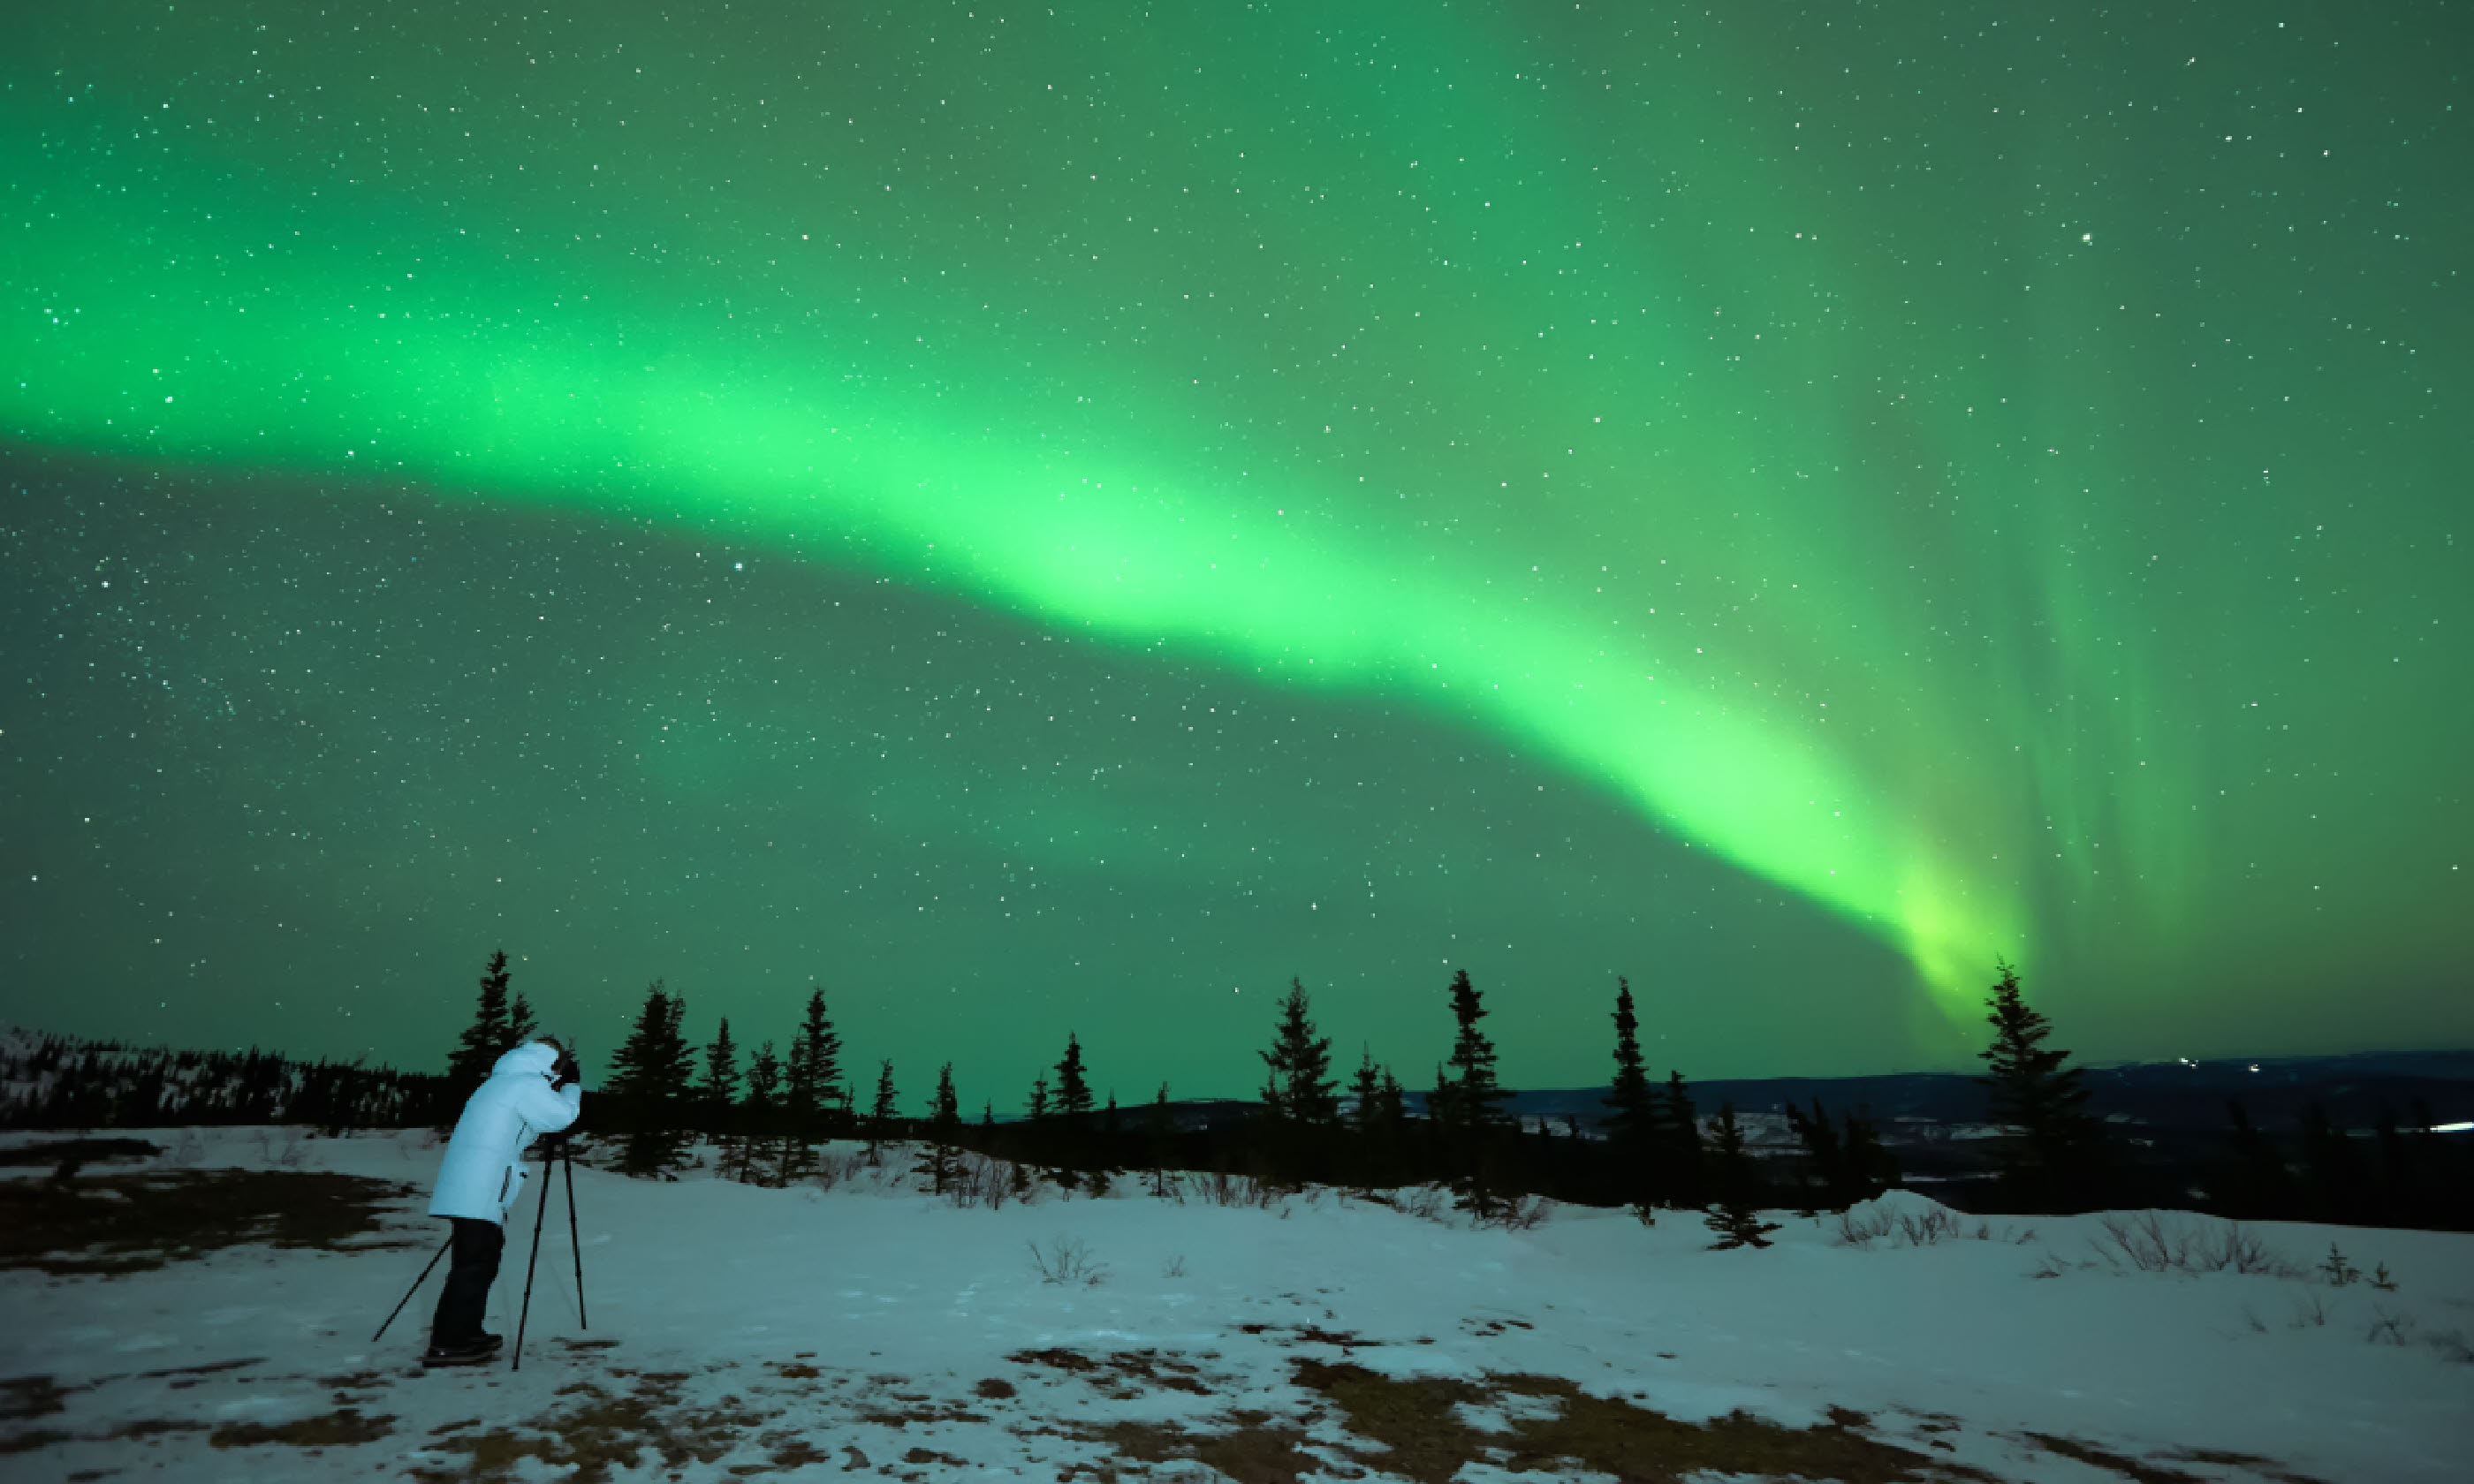
A shot of the sky full of pretty green lights is fine. But show it in context to where you’re standing and you suddenly add a whole new dimension. Tilt your camera down slightly to include a forest, a mountain range, a lake, a log cabin, an Icehotel and you’ll immediately give scale and depth to the image.
Suddenly, the full magnitude of the aurora will be apparent as it towers over the little slither of landscape you’ve included at the bottom of the frame. In daytime photography, you would probably apply the rule of thirds, positioning your horizon about a third of the way up the frame, but when it comes to shooting the Northern Lights I think that’s often too generous. Keep the sky big; the land beneath almost cowering under this stupendous light display.
1. Ensure your camera is screwed firmly to a tripod, a cable attached
2. Set the ISO (the measure of how responsive your camera’s sensor is to light) to between ISO 400 and ISO 1000
3. Adjust the aperture to as wide as your lens allows: you want the smallest number, ideally f2.8 or f1.4
4. Check that autofocus is switched to manual so that your lens doesn’t ‘hunt’ back and forth trying to latch onto something. Focus on a distant line of silhouetted trees, the moon, a brightly lit log cabin etc
5. Start with a shutter speed of about 30 seconds, but be sure to review each and every exposure and make adjustments accordingly
6. Keep spare batteries snug in your coat pocket – freezing temperatures and long exposures drain camera batteries rapidly
7. Remember that if you take your camera from a warm building out into the freezing arctic night and expect to start taking pictures straight away you’ll end up with a distinctly ‘soft focus’ effect due to condensation forming on the lens. Avoid the dreaded fogging by keeping your camera at as near an outdoor temperature as possible.